
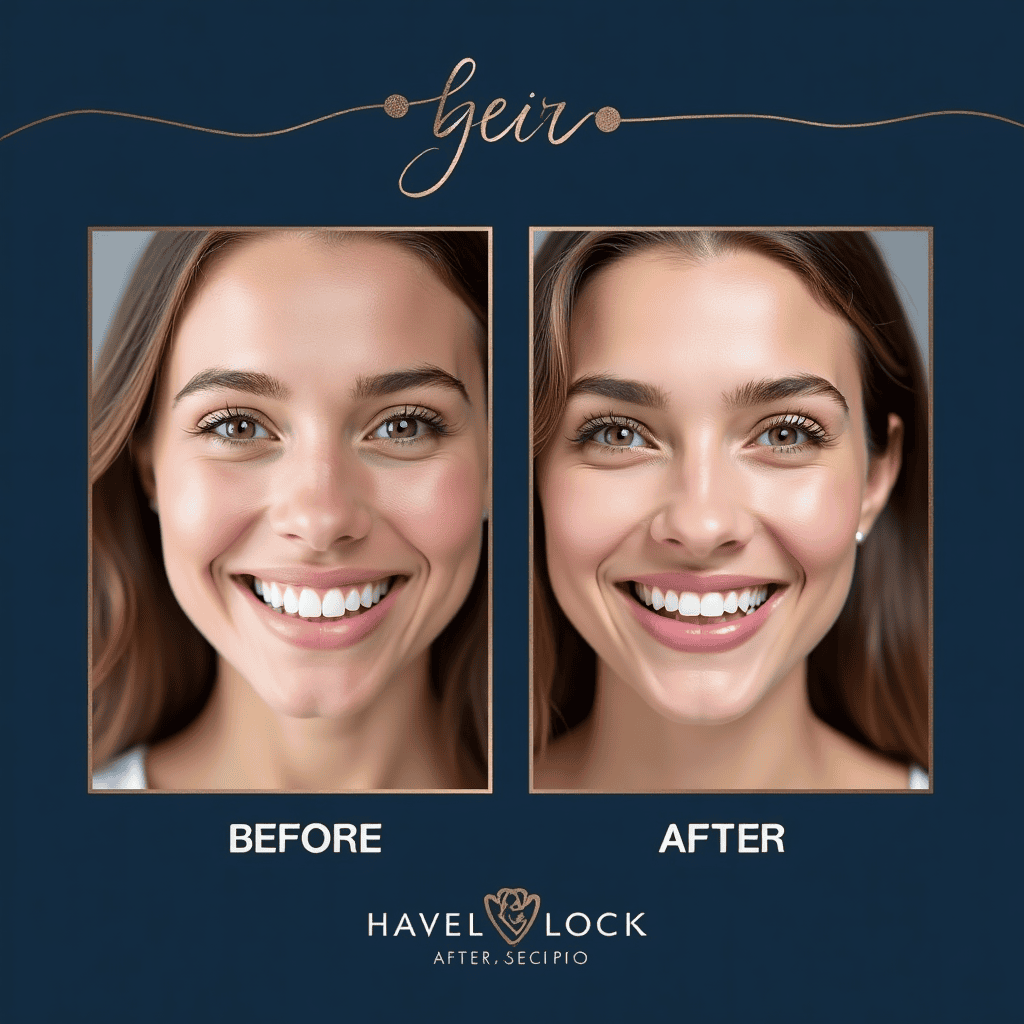
The One Thing Patients Want to See Before They Book
Before a patient walks through your door, they’re doing research. Lots of it.
They Google you. They scroll through your website. They check your reviews. And then — if they’re serious — they look for proof.
Not your credentials. Not your mission statement. Not your “we’ve been serving the community for 20 years” banner.
They look for what their results could look like.
That’s what a before/after photo does. It takes the abstract (“quality dental care”) and turns it into something concrete and real. A smile that was broken becomes a smile that’s whole. A mouth that was painful becomes a mouth that’s healthy. The transformation is visible. Tangible. Believable.
If you’re not using before/after photos as a core part of your marketing, you’re leaving the most powerful conversion tool on the table.
Why So Many Practices Still Hide Their Best Work
Plenty of practices have incredible case results sitting in a phone album or buried in treatment photos, and none of it ever makes it onto the website.
Here’s what they tell me:
“I’m worried about patient privacy.”
Fair concern. It’s also solvable. If a patient signs a simple consent form that specifically allows the use of their photos for marketing purposes before you use them, you’re working inside a normal, established process.
“It feels salesy.”
It only feels that way if you present it badly. There’s a difference between showing real treatment outcomes and turning your site into an infomercial. When the photo is paired with context, it reads as proof, not hype.
“I don’t have a good system for collecting them.”
That’s a workflow problem, not a content problem. And it’s fixable in about an hour.
The real issue is usually simpler: no system. A few photos get taken here and there, the angles don’t match, the consent isn’t organized, and the whole thing dies in a forgotten folder.
The System That Makes This Easy to Maintain
Step 1: Get Consent — Before You Need It
The consent conversation has to happen before you take any clinical photos. Not after. Before.
Here’s a simple approach for your consent form:
> “We take clinical photos to document your treatment and track your progress. With your permission, we may also use anonymized before/after photos — with all identifying information removed — to help other patients understand what to expect from treatment. Your privacy is always protected. You can withdraw this consent at any time.”
That’s it. Keep it simple. Keep it optional. Keep it honest.
For any photo that shows identifiable facial features or distinct markings, use a model release form. For intraoral shots (which are what most dental before/afters are), consent is typically enough.
Step 2: Make Photography Part of Every Treatment
The best practices I work with have turned clinical photography into a standard step in their workflow — right alongside the health history and exam.
- Before any restorative work: Standardized intraoral shots (front, left, right, occlusal)
- After any major procedure: Same shots, same angles, same lighting
- For cosmetic cases: Full-face portrait + intraoral + retraction shots
- For whitening: Shade guide photo before + shade guide photo after, taken in the same lighting
The key is standardization. Same angle, same lighting, same retractor, same background. When you standardize, the comparison is clean and the transformation is obvious.
Step 3: Keep a Case Portfolio (Organized by Category)
Don’t just dump photos in a folder. Keep an organized case library:
- Category: Cosmetic (veneers, bonding, whitening)
- Category: Restorative (crowns, implants, bridges)
- Category: Orthodontic (alignment, spacing, bite)
- Category: Emergency (same-day repairs, cracked tooth fixes)
Within each category, label clearly:
`[Patient Initials]_[Date]_[Procedure]_[Before/After]`
You don’t need hundreds of cases. 20–30 strong before/afters per category is more than enough for a website.
Step 4: Use Them Strategically On Your Website
Here’s where most practices get it wrong: they put one before/after photo on a page and call it done.
It should be a system.
The procedure page for veneers? Show 3–4 different veneer cases — different patient situations, different outcomes, all relevant to someone considering veneers.
The cosmetic dentistry page? Group cases by treatment type. Let the patient find the case that matches their starting point.
The homepage? One powerful transformation — the most dramatic one you have — with a single line: “The result our patients see first? Their own new smile.”
On every procedure page, the before/after gallery should be visible without clicking. Thumbnails that expand. Easy. Fast. Persuasive.
How to Display Before/Afters Without Looking Like a Drugstore Ad
There’s a wrong way and a right way to show clinical photos.
The wrong way: Stock-looking photos with obviously fake smiles, glossy lighting that doesn’t match any real clinical environment, “AMAZING RESULTS!!!” text overlays, before/after stacked with a garish border and a discount offer in the corner.
The right way:
1. Natural lighting, consistent backgrounds. Your intraoral photos should look like they came from a real practice — because they did.
2. Clean cropping. Don’t show more than you need to. Full-face photos should focus on the smile area. Intraoral shots should be clearly framed with good contrast.
3. Minimal text. Procedure name, time frame (e.g., “2 appointments, 3 weeks”), and a one-line outcome description. That’s it.
4. No claims you can’t back up. “Cured in one visit” is a claim. “Restored function and aesthetics in 2 appointments” is a fact.
5. Diverse cases. Show different ages, different cases, different starting points. You’re not cherry-picking one perfect result — you’re showing a range of what you do well.
Before/After Photos and Your Google Maps Presence
Here’s something most dentists don’t think about: your Google Business Profile can showcase clinical photos.
Not patient photos — your own clinical photography (with consent), used to show the quality of your work.
Google allows you to add photos to your GBP that show your practice, your team, and your work. A curated album of before/afters — properly labeled, with no patient identifiers — signals to Google that you’re an active, professional practice with a real clinical environment.
It also builds trust when someone is comparing you to the practice down the street. They pull up your GBP, they see clinical photos of real work, they see your team, they see your office. You’re no longer an unknown — you’re a real practice with real results.
The Legal Line — What You Can and Cannot Do
This matters, so let’s be clear:
You CAN:
- Use before/after photos with signed patient consent
- Use anonymized photos (close-up intraoral shots with no face, no identifiable marks)
- Use cases where all HIPAA identifiers are removed
- Display photos on your website, social media, and Google Business Profile
- Use photos in printed materials with consent
You CANNOT:
- Use photos that identify a patient without explicit written permission (name, face, recognizable tattoos, etc.)
- Make outcome guarantees (“this is what YOUR result will look like”)
- Use stock photos claiming they’re your work (this is deceptive and it’s happened to practices who got called out)
- Display photos that show identifiable medical conditions without clear consent
The line is simple: if the photo makes it clear who the patient is, you need explicit permission. If it’s a close-up intraoral shot of teeth, you’re generally fine with just the treatment consent form.
When in doubt, ask your lawyer. But for 95% of dental before/afters — intraoral close-ups, smile shots, before/afters for cosmetic procedures — the rules are straightforward.
The Before/After Photo That Converts Most
Not all before/afters are created equal in terms of conversion power.
The ones that work hardest are the ones that show a transformation a patient can personally identify with.
Someone considering veneers wants to see a case where the starting point looks like their own teeth. Someone considering implants wants to see a case where the missing tooth situation matches theirs. Someone considering whitening wants to see a case where the starting shade looks like their own teeth.
Generic “beautiful smile” photos are pretty. Specific photos that match the patient’s situation are persuasive.
When you’re deciding which cases to feature, ask: “Would a patient who is considering this treatment look at this photo and think ‘that could be me’?”
If yes — feature it.
Your Next Step
If you’ve been sitting on a folder of incredible cases and not using them, this is your signal to fix that.
Build the system: consent, photography workflow, organized case library, website display strategy. It takes about two weeks to get it in place — and then it runs on its own.
Once it’s running, you have a library of proof that does more for patient confidence than any amount of copy or credentials.
Want help building the before/after photo system for your practice? We work with dental practices to create marketing libraries that convert — the right way, legally, and without looking like a sales pitch.
Related Reading:
- Patient Acquisition for Dental Practices
- Dental Website Conversion Guide
- Dentist Marketing Agency Services
- Private Practice Marketing Agency
n
Explore how Doctors Marketing helps dental practices build patient trust through professional photography, before/after showcases, and full dentist marketing strategies — or visit our services page to see everything we offer.